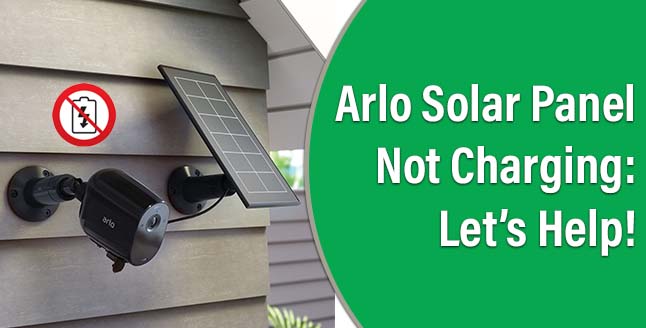
Arlo Solar Panel Not Charging: Let’s Help!

People tend to install Alro security cameras in their homes to ensure and elevate the security of their homes and loved ones. Arlo cameras use battery to receive power. Some Arlo cameras also use power cables to connect to the outlet. The Arlo camera battery is rechargeable. Do you know that Arlo battery can also be connected to a Solar panel to trickle charge them? However, it has been observed that plenty of users complain about the Arlo Solar Panel not charging issue. With that being said, we’ve penned down this blog to help those users who are having a hard time getting their batteries charged using the solar panel.
How to Fix Arlo Solar Panel Not Charging?
Before all else, know that the Arlo battery status can be checked in its admin interface. You can use the Web UI or download Arlo app to access the admin portal. You can check the solar icons and battery symbols to determine the battery level. If the Arlo solar panel isn’t charging, then you should first check the sun exposure to the solar panel. It is to be ensured that the panel is exposed to direct sun and isn’t obstructed by trees, walls, or any other objects. Avoid shady spots to place and position the Solar Panel. Direct sunlight to the panel should help you charge the Arlo battery.
Important Note:
You should be aware that the solar panel’s purpose is to trickle charge the battery i.e. to maintain the battery level. That is to say, your camera battery should be fully charged when you link it to the Arlo Solar Panel. A discharged battery won’t be charged using the Solar Panel. Thus charge the Arlo battery first as the panel won’t help charge it from low to full.
If you’re successful in charging the Arlo camera battery using the Solar panel by considering the above factors, then you can rest the troubleshooting process here itself. Otherwise, continue reading further to learn what you must do now to get rid of Arlo Solar Panel not charging trouble.
Unplug & Re-Insert Arlo Solar Panel Cable
A damaged or loose cable fails to charge the Arlo battery. Have issues charging the battery using the Solar Panel? The primary thing that you ought to do is to inspect the cable. Unplug both ends of the cable from the camera and Solar Panel. Observe the cable and look for any damage or exposed area on the cable. Repair any damage right away. You should also confirm that the cable is tightly inserted into both devices after connecting it back.
Check the Temperature
Are you aware of the fact that the Solar Panel won’t charge the battery if you’re using it in temperatures below 0°C (32°F) and above 45°C (113°F). Now, check the outside temperature. If it is below or above the mentioned temperature then you should waste no time using the Arlo Solar Panel.
Reboot the Arlo Camera
You should try rebooting the Arlo camera if it still can’t be charged using the Solar Panel. While rebooting the Arlo camera, you can also check if the battery is inserted correctly or not. Arlo Solar Panel won’t charge if the battery is not inserted or incorrectly placed. Therefore, power off the camera and take out its battery. Meanwhile, clean up the Solar panel and remove any dirt or debris from it.
Insert the battery back into the Arlo camera after a decent rest of about 5 to 10 minutes. Power on the camera using the Power button. Now use the Arlo app or Web UI for Arlo camera login and check if the battery is getting charged or not.
Let’s Conclude This!
We expected that after you’ve applied the solutions mentioned in the above sections, you’ll no longer be bothered by the Arlo Solar Panel not charging issue. However, if you still struggle with the same trouble, then reset the Arlo camera to the factory defaults. Remove it from the Arlo account. After a while, set up the Arlo camera once again and add it to the Arlo account using either the Web UI via my.arlo.com or the Arlo secure app.
Tags: Arlo Camera Login, download Arlo app