Arlo Pro 3 Floodlight Camera Installation and Connections

If you have decided to enhance your house security with Arlo Pro 3 floodlight camera, then it is one of the most wonderful decisions of your life. It has everything you need to keep an eye on the happenings in and around your house. In this Arlo Pro 3 floodlight camera installation guide, we will share some valuable information regarding the product including its connection with the base station, charging via the solar panel, and a lot more. Keep reading.
Incredible Features: Arlo Pro 3 Floodlight
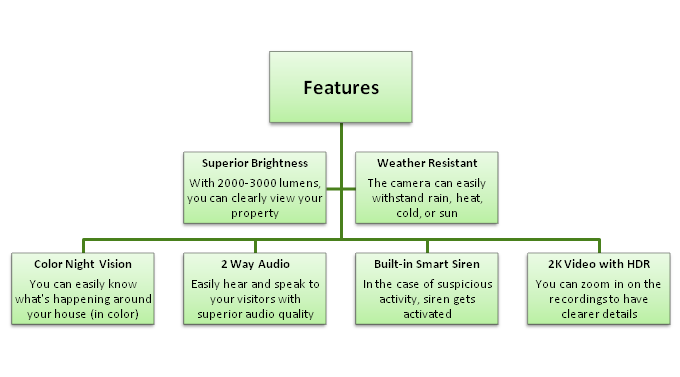
Apart from the aforementioned features, the camera has much more to enhance your home security. Given below are a couple of more features that an Arlo Pro 3 floodlight camera possesses:
- Multiple Power Options: You can easily charge the battery of your camera with the SOLAR PANEL (optional). All thanks to the RECHARGEABLE BATTERY i.e. convenient and long-lasting, and OUTDOOR MAGNETIC CHARGING CABLE that arrive with the product.
- Custom Control: The Pro 3 floodlight camera comes with an enhanced protection as it has custom floodlight and advanced camera settings that can be easily enabled through the Arlo app.
After discussing the features, let us now focus on the steps that can help you complete the setup process of the Arlo Pro 3 floodlight camera in your house. Take a walk through the next section to know about them.
How to Set Up Arlo Pro 3 Floodlight Camera?
The Arlo Pro 3 Floodlight camera installation process will require you to use the ARLO SECURE APP. Thus, install it on your mobile phone. Apart from this, the instructions given here apply to the app version with ARM and DISARM. To set up the Floodlight camera with ARLO SECURE 4.0 with ARM AWAY, ARM HOME, and STANDBY mode, you have to follow different instructions that are discussed later.
- On your mobile phone, open the ARLO SECURE APP.
- Tap ADD NEW DEVICE > LIGHT and select the camera model.
- Review the CAMERA FEATURES on the next screen and watch the SETUP VIDEO.
- Tap CONTINUE, if you have chosen CONNECT WITHOUT SMART HUB.
- Enter the WIFI SSID and PASSWORD.
- Insert the BATTERY. However, keep the camera SEPARATE FROM HOUSING, and tap CONTINUE.
- Hold the QR code in front of the camera lens if the LED is BLINKING BLUE.
- Arlo Secure App will look for your Pro 3 floodlight.
- Name your camera and tap CONTINUE after pairing it with the app.
- Keep the security device in an AREA WITH STRONG BANDWIDTH.
- Review the next screen and position your Arlo Pro 3 Floodlight.
- Test the light and tap CONTINUE > FINISH.
This is how you can complete the Arlo Pro 3 Floodlight installation process using the Arlo Secure app with the ARM and DISARM Mode. But, there is a possibility that your camera won’t connect to the app. In that scenario, you can lean on the tips given in the next section.
Arlo Pro 3 Camera Not Connecting to App (Solutions)
I. Remove the Plastic Film
Arlo security cameras have a plastic film to protect them during shipping. So, you are advised to remove that film from your Pro 3 floodlight camera lens and scan the QR code again. Now, see if your camera connects to the app and you can do Arlo setup or not.
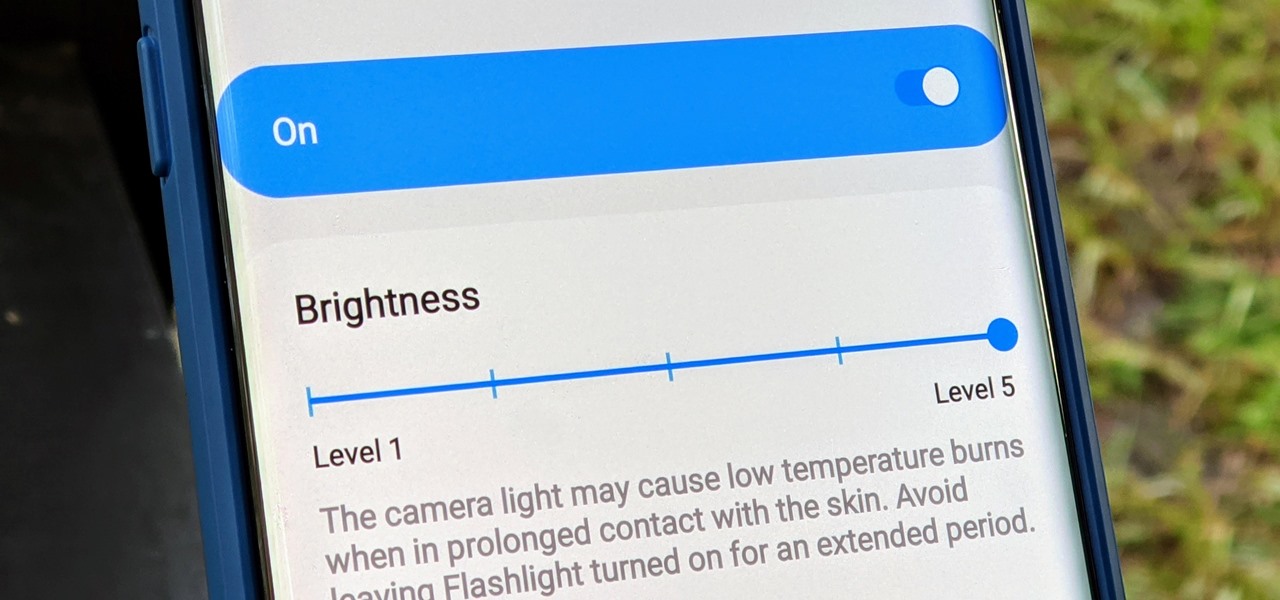
II. Increase the Mobile’s Brightness
There is a possibility that the brightness of your mobile device is too low due to which the camera cannot scan the QR code. Therefore, you should try increasing the brightness of your mobile phone. Apart from this, slowly move your phone closer and farther away from the Pro 3 camera lens.
Setting Up Arlo Pro 3 Floodlight with Arlo Secure 4.0
Launch the dedicated version of the app on your mobile phone and select the DEVICES option. Thereafter, hit the + icon and choose LIGHTS. Select the model of your camera i.e. Arlo Pro 3 Floodlight camera. Review the next screen and tap CONTINUE. Select whether you want to set up the camera using the SMARTHUB or BASE STATION or ROUTER. Insert the battery and follow the on-screen prompts.
Do You Really Need Arlo Base Station for Pro 3 Floodlight Setup?
From the given instructions, you might be wondering about the SMARTHUB/BASE STATION and its relation to the setup process of the camera. FYI, it is not necessary to set up the camera using a base station or camera. The router only can help. However, a few benefits of adding a base station are mentioned below:
- You’ll have a separate network for your security devices
- Local storage options will increase
- Videos will be recorded continuously for selected models
In Conclusion
Let us now wrap up the Arlo Pro 3 Floodlight camera installation guide. Since we’ve provided you with every minute detail about the camera model, we expect that you will be able to set it up easily and make the most of it. To make sure that the camera runs well all the time, you are suggested to update its firmware regularly using the Arlo login details.
Tags: arlo camera night vision, Arlo Floodlight, arlo pro 3 camera, floodlight camera installation, wireless camera light